Ultimate Bitcoin Privacy Guide using TailsOS with built in Electrum Wallet and MyNode with Electrs Enabled

This setup works with both Keystone’s Bitcoin-only firmwares.
The Bitcoin network consists of interconnected nodes and miners that secure the network against potential attacks. Miners secure the blockchain by utilizing proof-of-work to mine blocks and process transactions. Nodes store the entire transactional database of Bitcoin (the blockchain), it contains transactions from all the way from the genesis block mined by Satoshi Nakamoto to the latest block mined today. Nodes also secure the consensus of the system and enforce rules that miners must abide by in order to receive their block rewards for finding new blocks.
When a user transacts using a light wallet for example on a mobile phone, their wallet leaks out information about the funds and transactions on the wallet. This is because you are using someone else’s node and give them information that they can misuse in order to deanonymize you and tie your information like IP address or other information to transactions.
When a light wallet queries for transactions, it usually sends the extended public key of a given wallet that contains all the present and future wallet addresses to a third party server, with that a third party server can see all of your transactions and future transactions. This is a big privacy issue.
In order to fix this problem and provide additional privacy when transacting, the user can opt to use a bitcoin full node when querying data and broadcasting transactions. The privacy benefits of such installations is great, therefore we must not ignore them and make use of them in order to restrict others from doing surveillance over our transactions.
This tutorial here will explain how to set up a MyNode installation on a Raspberry Pi, how to install Tails OS on a pendrive and how to connect the Electrum installation on Tails to the Electrum Private Server on the MyNode server.
For running a MyNode+TailsOS installation, you will need the following items:
1 computer with a compatible camera that TailsOS recognizes
1 license for MyNode Premium Edition ($99 Dollars, sold separately)
Latest generation Raspberry Pi with at least 4GB of RAM
A microSD card with minimum size of 8 GB
1 USB 3.0 pendrive with 8GB minimum space
An SSD drive with 500GB of minimum space (1TB is recommended)
1 mobile enclosure for the SSD to connect via USB 3.0 to the Raspberry Pi
1 Ethernet Cable connecting the Raspberry Pi and a Router that is connected to the Internet
1 USB 3.0 cable
1 Charging Brick that can accept a USB connector to function as a power supply source
Step 1
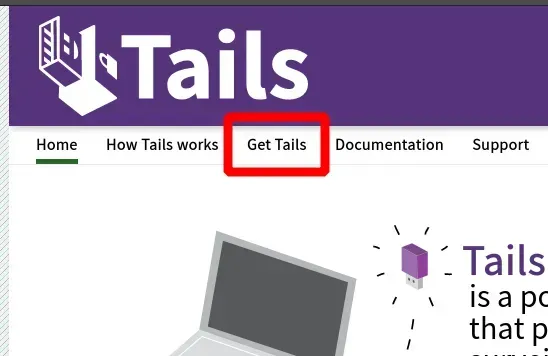
If you have the proper pendrive, go ahead and download TailsOS from https://tails.boum.org/ The installation is simple, and the Tails website will walk you through the installation step by step, just read the given instructions and there will be no issues.
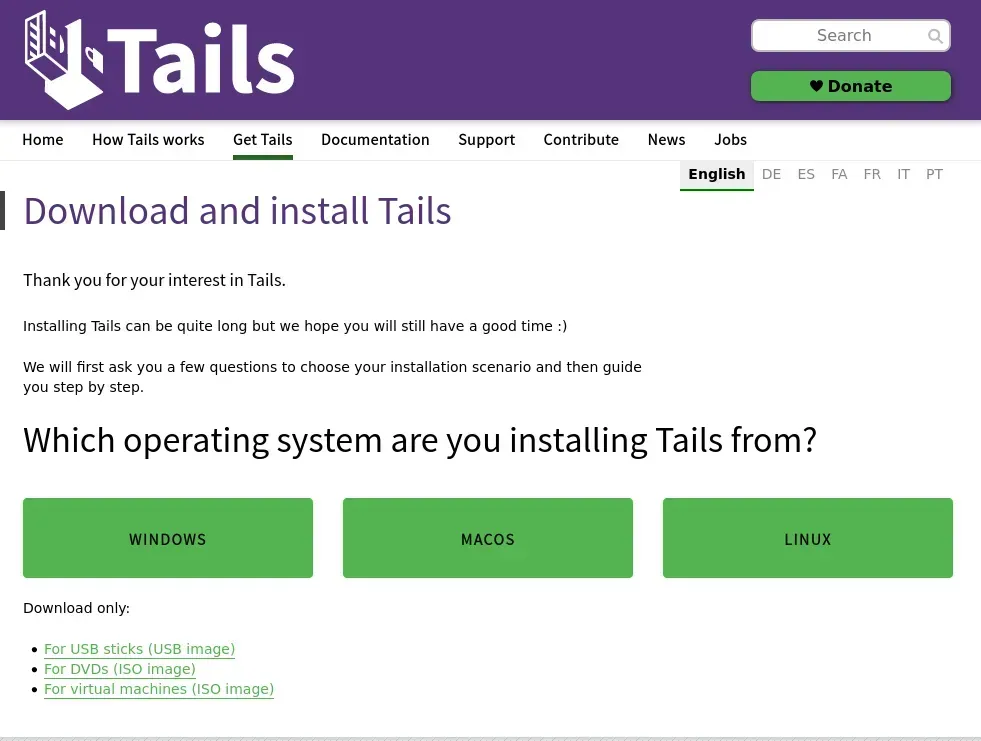
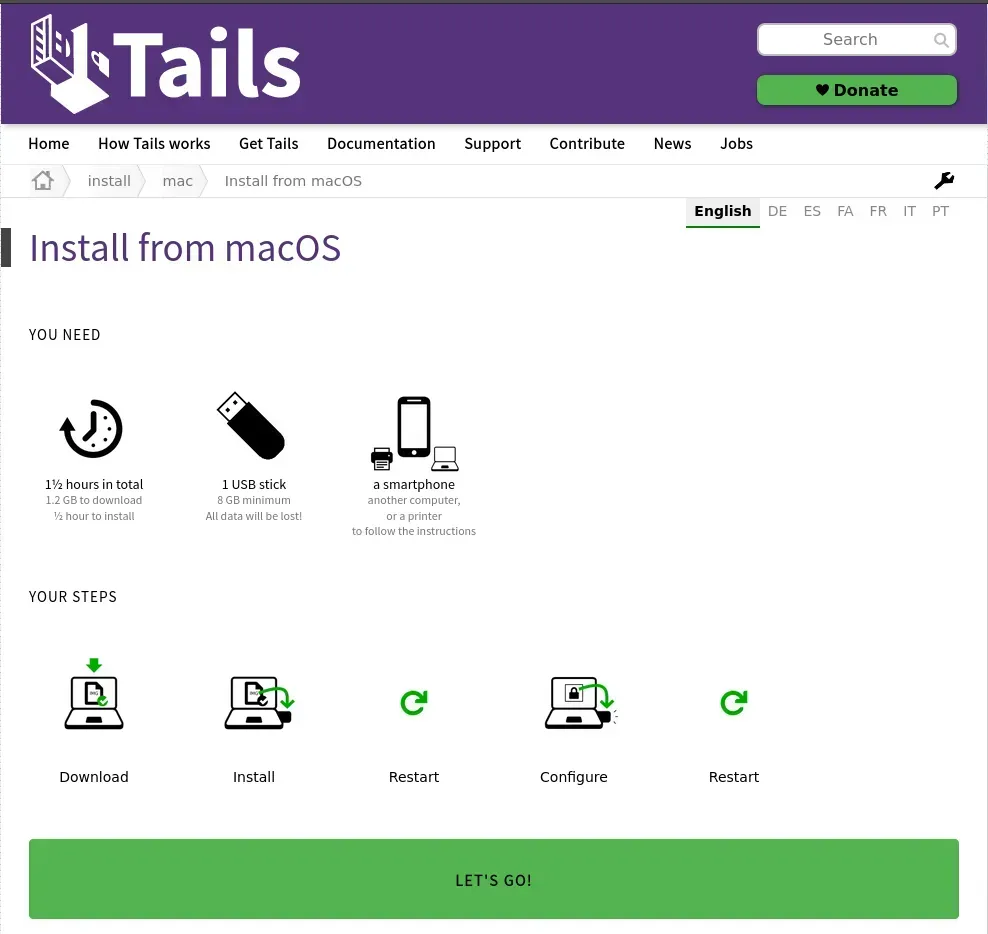 Keep Following the instructions!
Step 2
You will also have to download Balena Etcher to write ISO images to the pendrive, download the installer from https://www.balena.io/etcher/
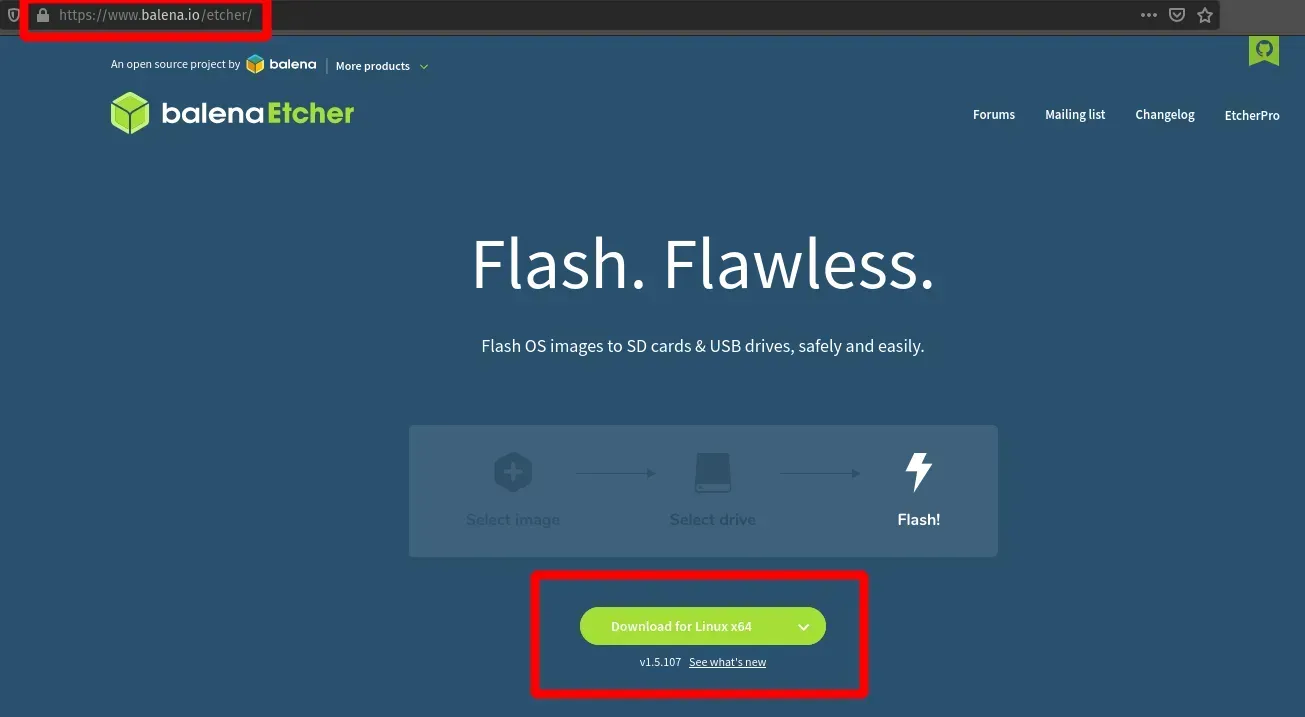
Step 3
After you successfully downloaded the ISO and have downloaded Etcher, go ahead and plug in the pendrive and write the ISO file onto it, based on which installation method you selected you will either need 1 or 2 pendrives to manage the installation.
Step 4
After you are done, restart the computer, and press multiple times F12 to enter the boot selection screen on your PC (key might vary on MacOS) and select the pendrive for booting.
(Don’t enable persistence and don’t set a root administrator password.)
Step 5
After successful boot, restart the computer and go back to your main operating system.
Step 6
Now, head over to https://mynodebtc.com/ to download the community edition of MyNode (please note here that you will need the premium edition in order to connect with Electrum on TailsOS over Tor to MyNode)
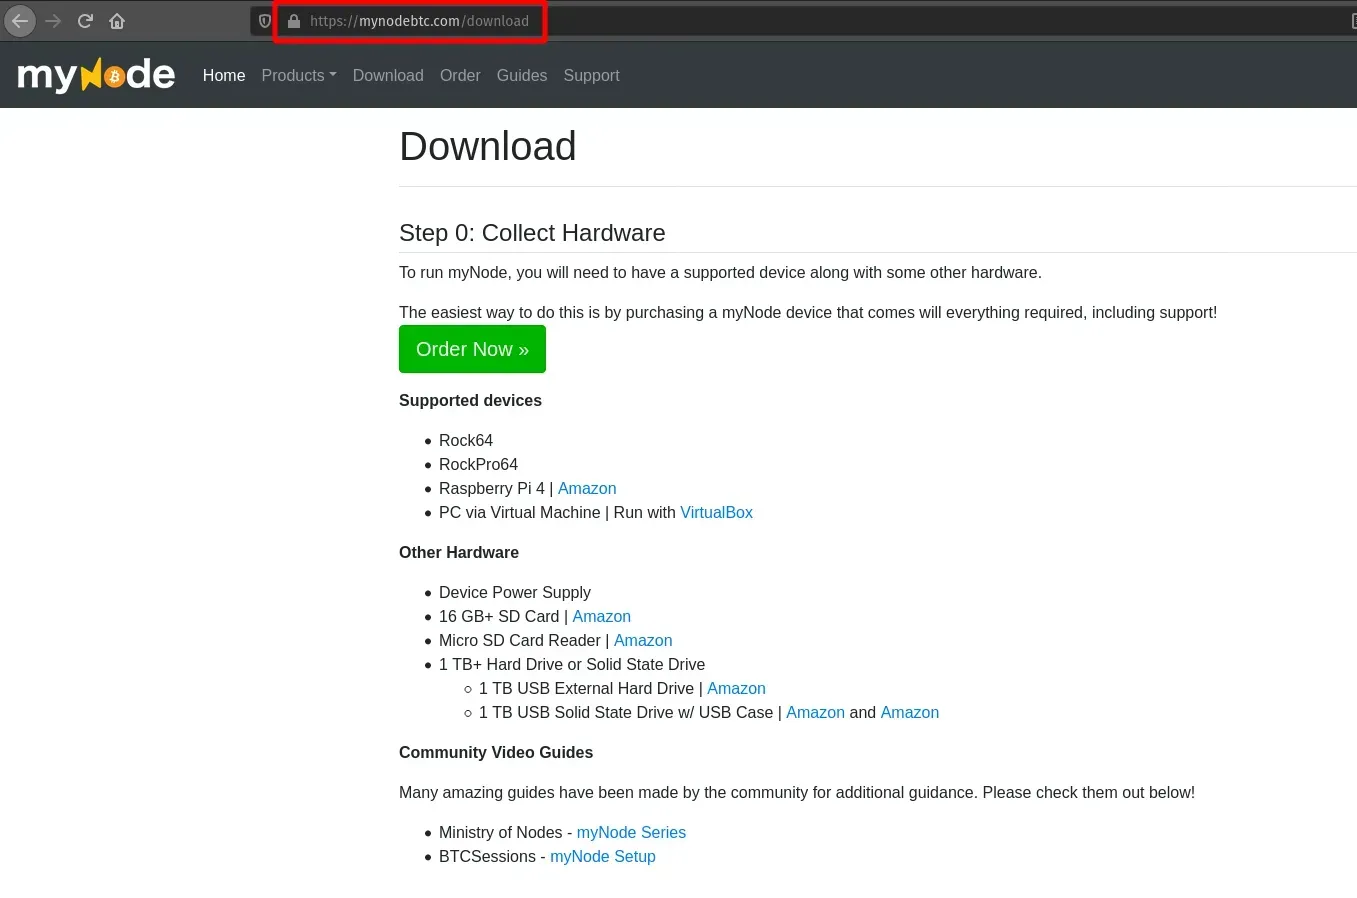 Follow the steps explained on the website.
Step 7
After downloading the MyNode ISO file, plug in the microsd file into your computer and write the ISO image onto the microsd card.
Step 8
After finished writing the ISO file, assemble the raspberry pi, insert the microsd card into it and power it on by plugging it onto a charging brick with a USB 3.0 cable.
Step 9
Allow the MyNode installation to finish booting and creating system files, then navigate with your browser to http://mynode.local or the local IP address of the raspberry pi. The password for first time login will be “bolt”
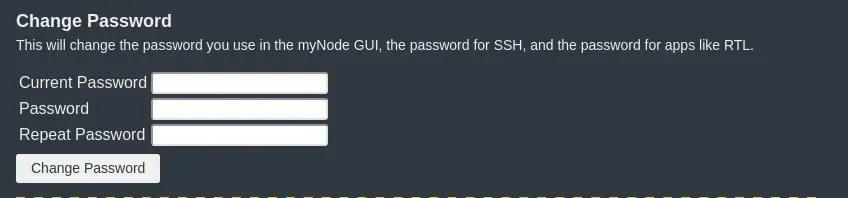
Make sure to change the password, in the settings, to something you will remember else you will have to fully wipe your device’s SSD to be able to restart with the whole installation process.
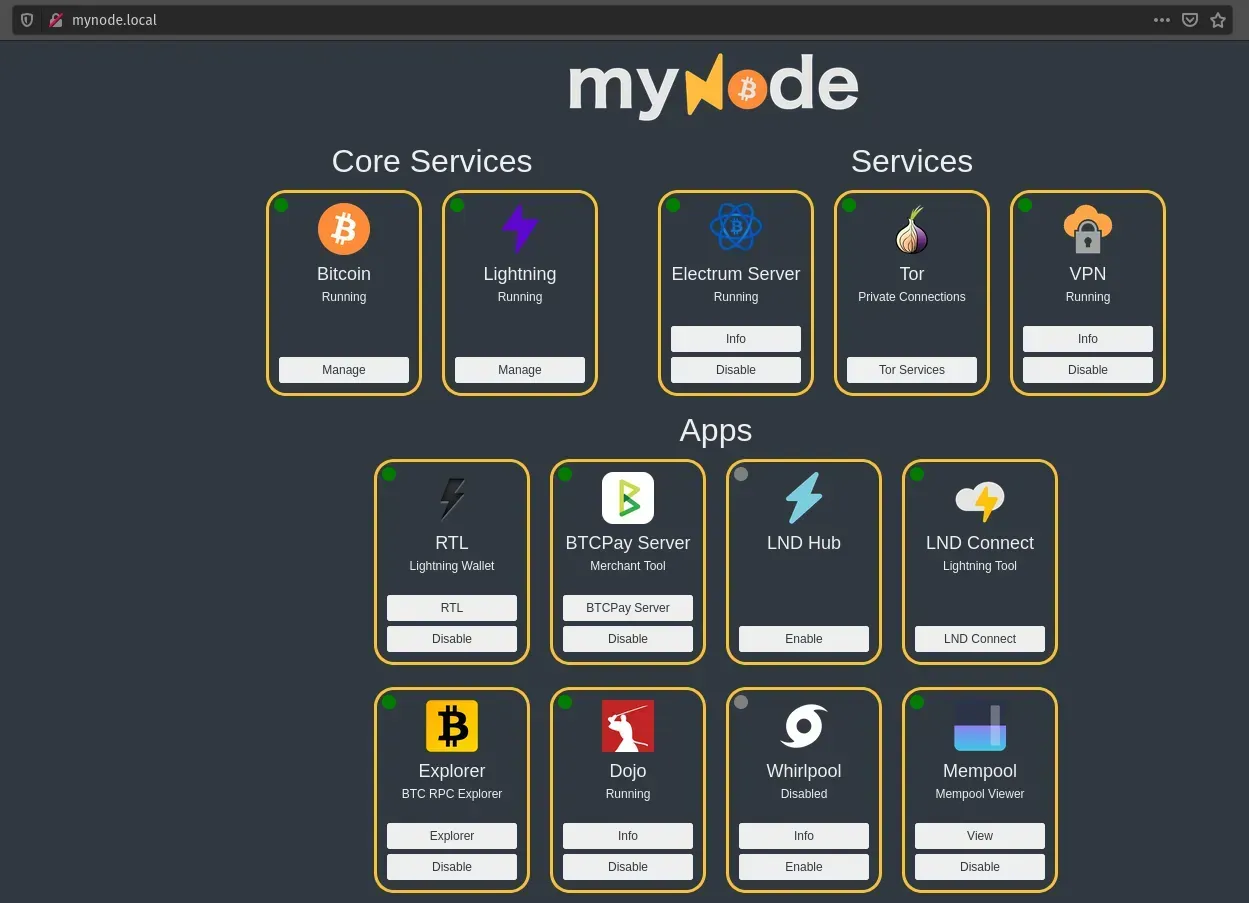
 After logging in and the initial block download was successful you should see this screen, but the difference will be that the items are still either loading or syncing.
Go ahead and press “ENABLE” on Electrum Server, the installation will take a long time while it stands up and syncs the network onto the device.
Step 10
After the MyNode installation says Electrum Private server is running, you can go ahead and input the MyNode serial into the settings to enable remote connections via Tor.
 What should appear here for you is something similar to “Set Product Key” and input the product key into it that you received via email.

Step 11
Afterwards let the device restart or anything else it requests and then start booting up the computer with TailsOS as explained in Step 4.
Step 12
After successful boot and when the connection indicator of TailsOS shows active connection to the Tor Network, you can start the connecting process of Electrum Wallet to the Electrum Private Server.
!WARNING! Never start Electrum Wallet just by navigating to it in the menu, follow the below guide on how to start it properly so that it does not leak information to unwanted participants on the network.
Step 13
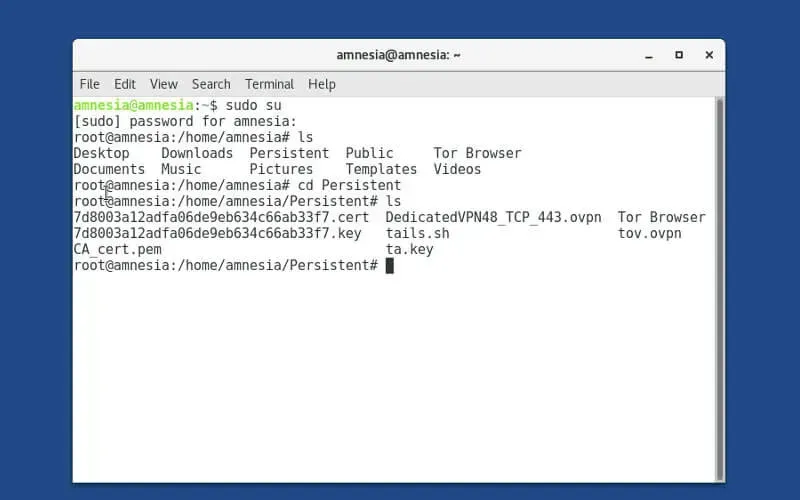
Go to Applications on TailsOS and look for a program called “Terminal”. It should look somehow like this:
 The terminal will look somehow like this, based on your graphical settings:
Step 14
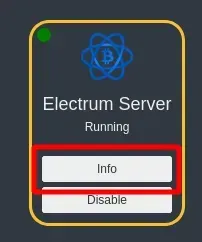
Open up the Electrum Private Server information screen by clicking on Info.
Step 15
You will then see the various connection information of your private electrum server for both local and remote connections. What you will need is the following command:
 Here you will see the Electrum Tor Command, you need to manually type it over onto TailsOS into the Terminal you just opened previously. What you exactly have to type is
electrum -1 -s yourmynodetorprivateconnectionaddress.onion:50002:s -p socks5:localhost:9050
It should be in this format without the “./” infront, TailsOS does not accept that command in front of the command.